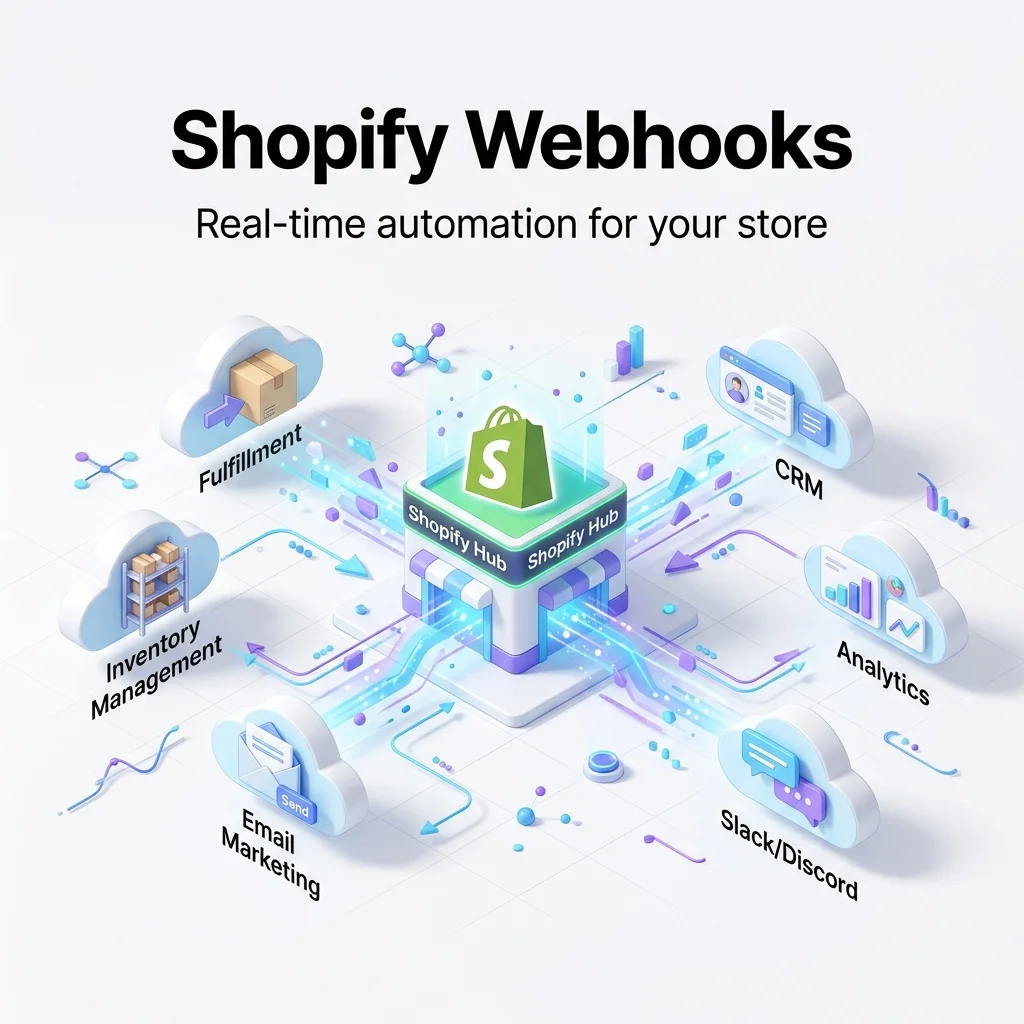
If you're building or using a SaaS like OrdersPilot, webhooks are the backbone of real-time automation. Instead of polling Shopify APIs every few seconds, webhooks instantly notify your system when something happens.
What Are Shopify Webhooks?
Webhooks are event-based HTTP callbacks. Whenever an event occurs in Shopify (like a new order or inventory change), Shopify sends a POST request to your server.
This allows OrdersPilot to:
- ⚡ Instantly sync new orders
- 🔄 Update inventory across stores in real-time
- 🚀 Trigger fulfillment workflows automatically
Step 1: Copy Webhook URL from OrdersPilot
First, you need your unique webhook endpoint from OrdersPilot.
- Login to OrdersPilot Dashboard
- Go to Sidebar → Brands
- Find Webhook URLs column
- Copy Order Creation Webhook URL
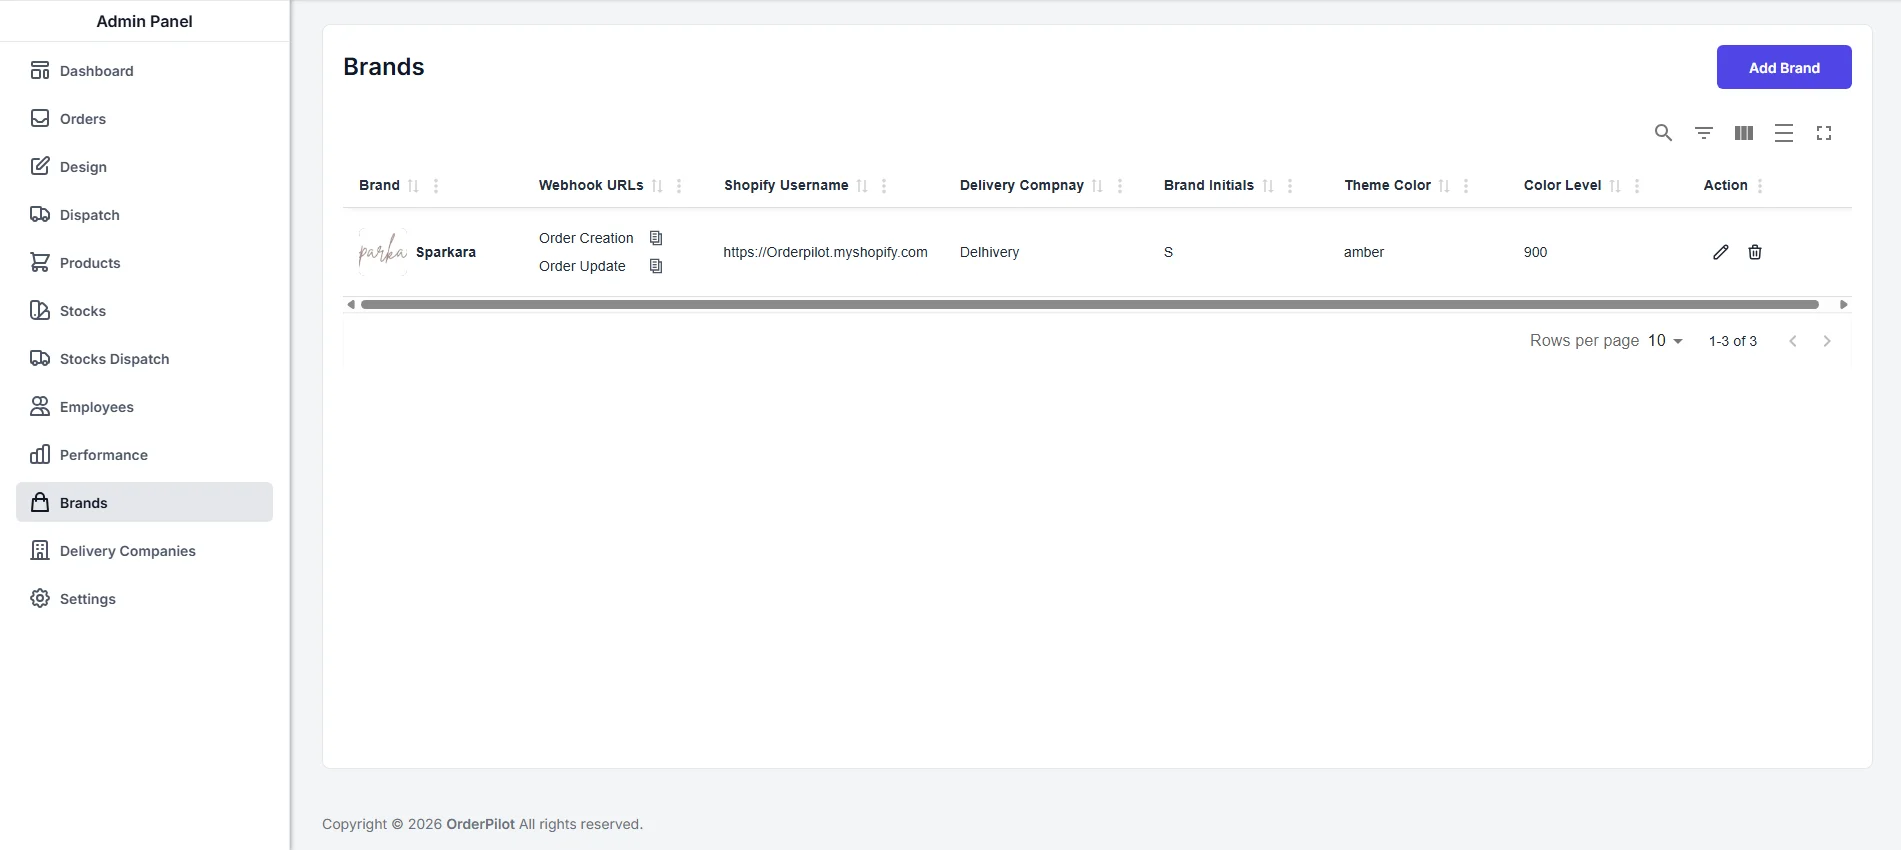 Copy your webhook URL from OrdersPilot dashboard
Example webhook URL:
https://api.orderpilot.com/order/createOrderWebhook/brandId
Step 2: Go to Shopify Webhook Settings
- Open your Shopify Admin
- Go to Settings → Notifications
- Scroll to Webhooks
- Click Create webhook
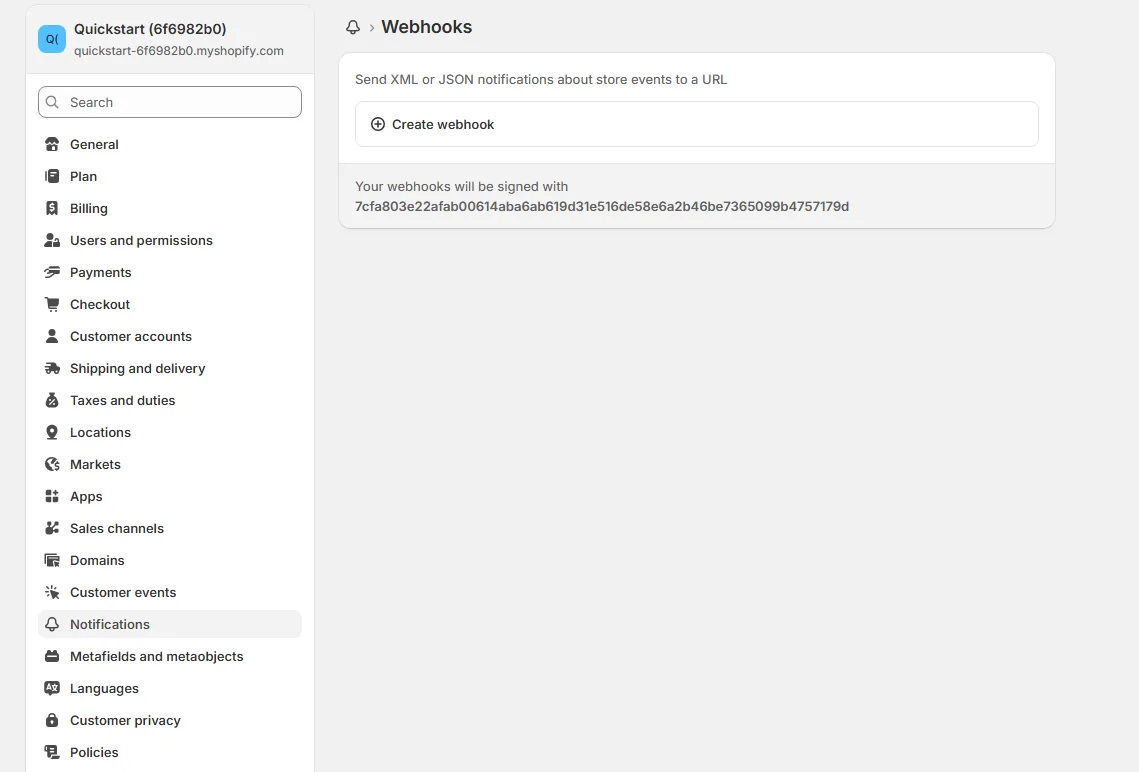 Shopify webhook settings
Step 3: Configure Webhook
Note
Now configure the webhook with correct event and endpoint:
- Event: Select event (e.g., Order Creation)
- Format: JSON
- URL: Paste your OrdersPilot webhook URL
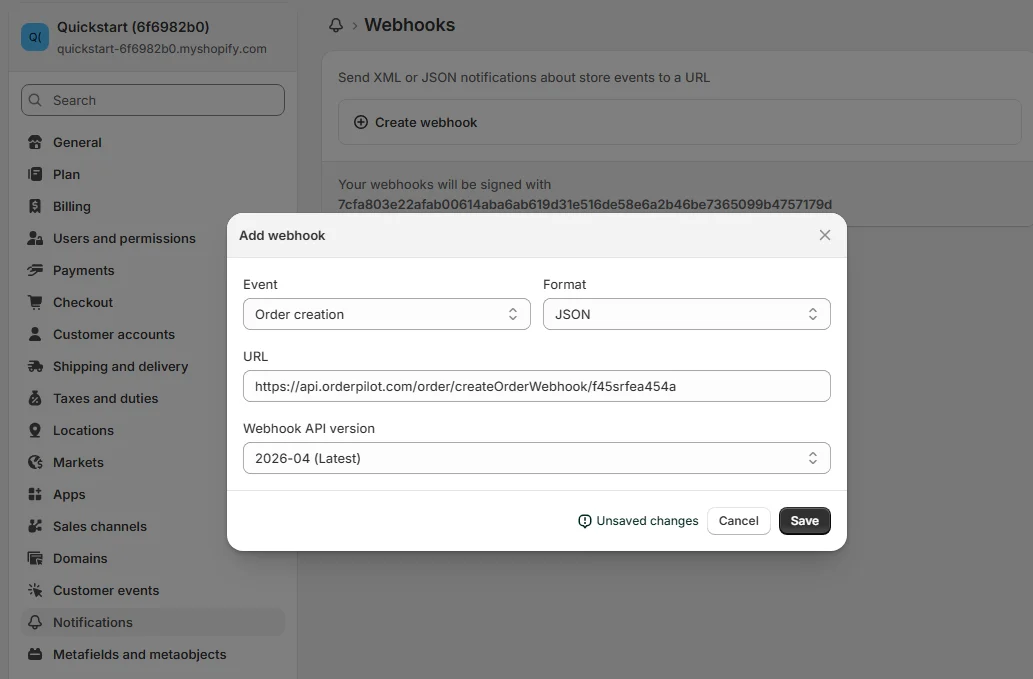 Paste your webhook URL
Important Events to Add
Tip
Add these for proper automation coverage:
- orders/create → New order sync
- orders/updated → Order updates
Step 4: Save & Test Webhook
- Click Save webhook
- Place a test order
- Check OrdersPilot dashboard
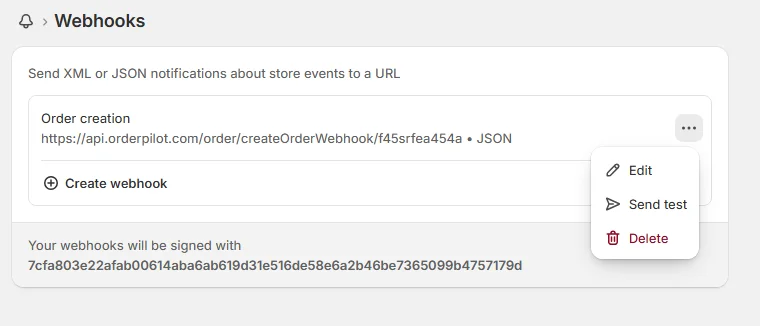 Test webhook
How OrdersPilot Uses Webhooks
Once connected, OrdersPilot listens to these events and performs actions instantly:
- 📉 Decrements inventory across stores
- 🚫 Prevents overselling
- 🔄 Syncs order data in real-time
- 🚚 Triggers fulfillment workflows
Backend Example (Node.js)
Note
Your server should handle incoming webhook requests like this:
app.post('/webhooks/shopify/orders-create', express.json(), (req, res) => {
  const order = req.body;

  console.log("New Order:", order.id);

  // Process order

  res.status(200).send('Webhook received');
});
Security Best Practices
- Verify Shopify webhook signature (HMAC)
- Use HTTPS endpoint only
- Never expose webhook logic publicly
- Log all webhook events
Common Mistakes to Avoid
- Using wrong webhook URL
- Forgetting JSON format
- Not handling duplicate calls
- Not verifying authenticity
Final Thoughts
Webhooks are what make OrdersPilot powerful. Without them, you'd rely on slow polling systems. With them, your entire Shopify ecosystem becomes real-time and automated.
Set them up correctly once, and your operations will run on autopilot.
Author
Tech Team
Deeply passionate about optimizing e-commerce logistics and building systems that help D2C founders regain control of their operations.
Enjoyed this article?
If you found this helpful, share it with your network and help other Shopify founders scale their operations.
Recommended Articles
Continue your journey with more insights from our team.